
Making the Rafters
For the past couple weeks, while the second story logs were put into place, Mark was building our rafters. Uncle Peter, after much discussion and pencil scratchings, came up with a design for our roof.
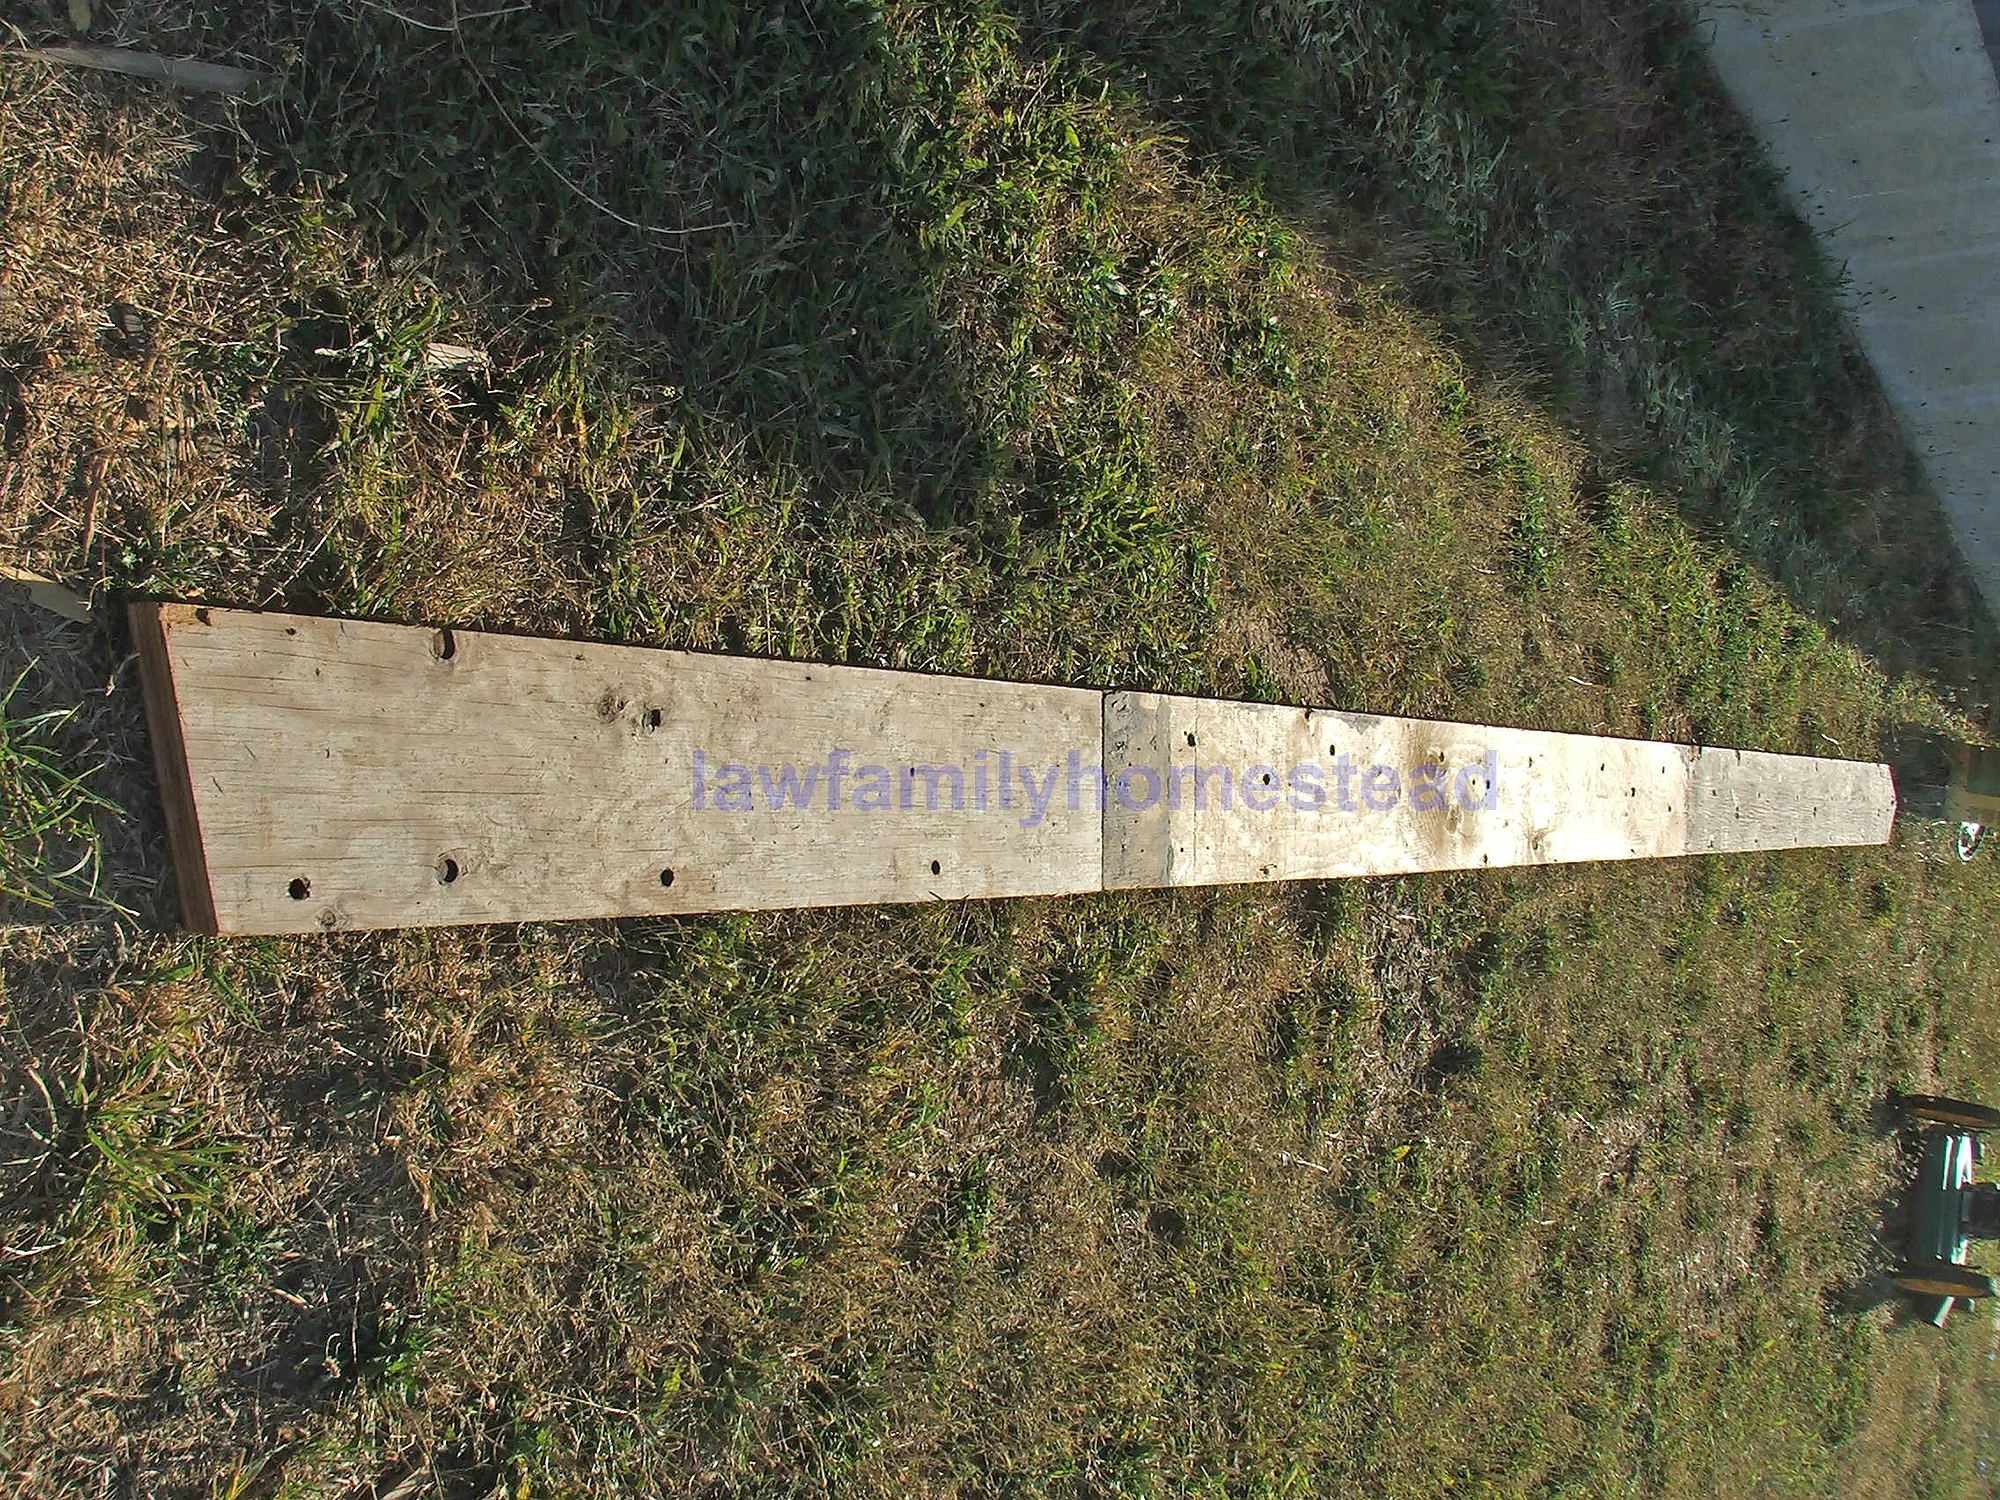
First a pattern rafter was made from scrap plywood we had lying around.

Next the two angles on the bottom were calculated. The bottom angle where the rafter will sit on the wall logs is called the seat cut. It is the right-side cut in the above photo. The plum cut is the top cut on the rafter bottom and is where the 2x4 outlookers will attach. These cuts create a 38 degree angle between the rafter and the wall log.

And then the top angle of 14 degrees was calculated and cut into the pattern. This pattern was used for both the mortise and tenon side of the rafters.

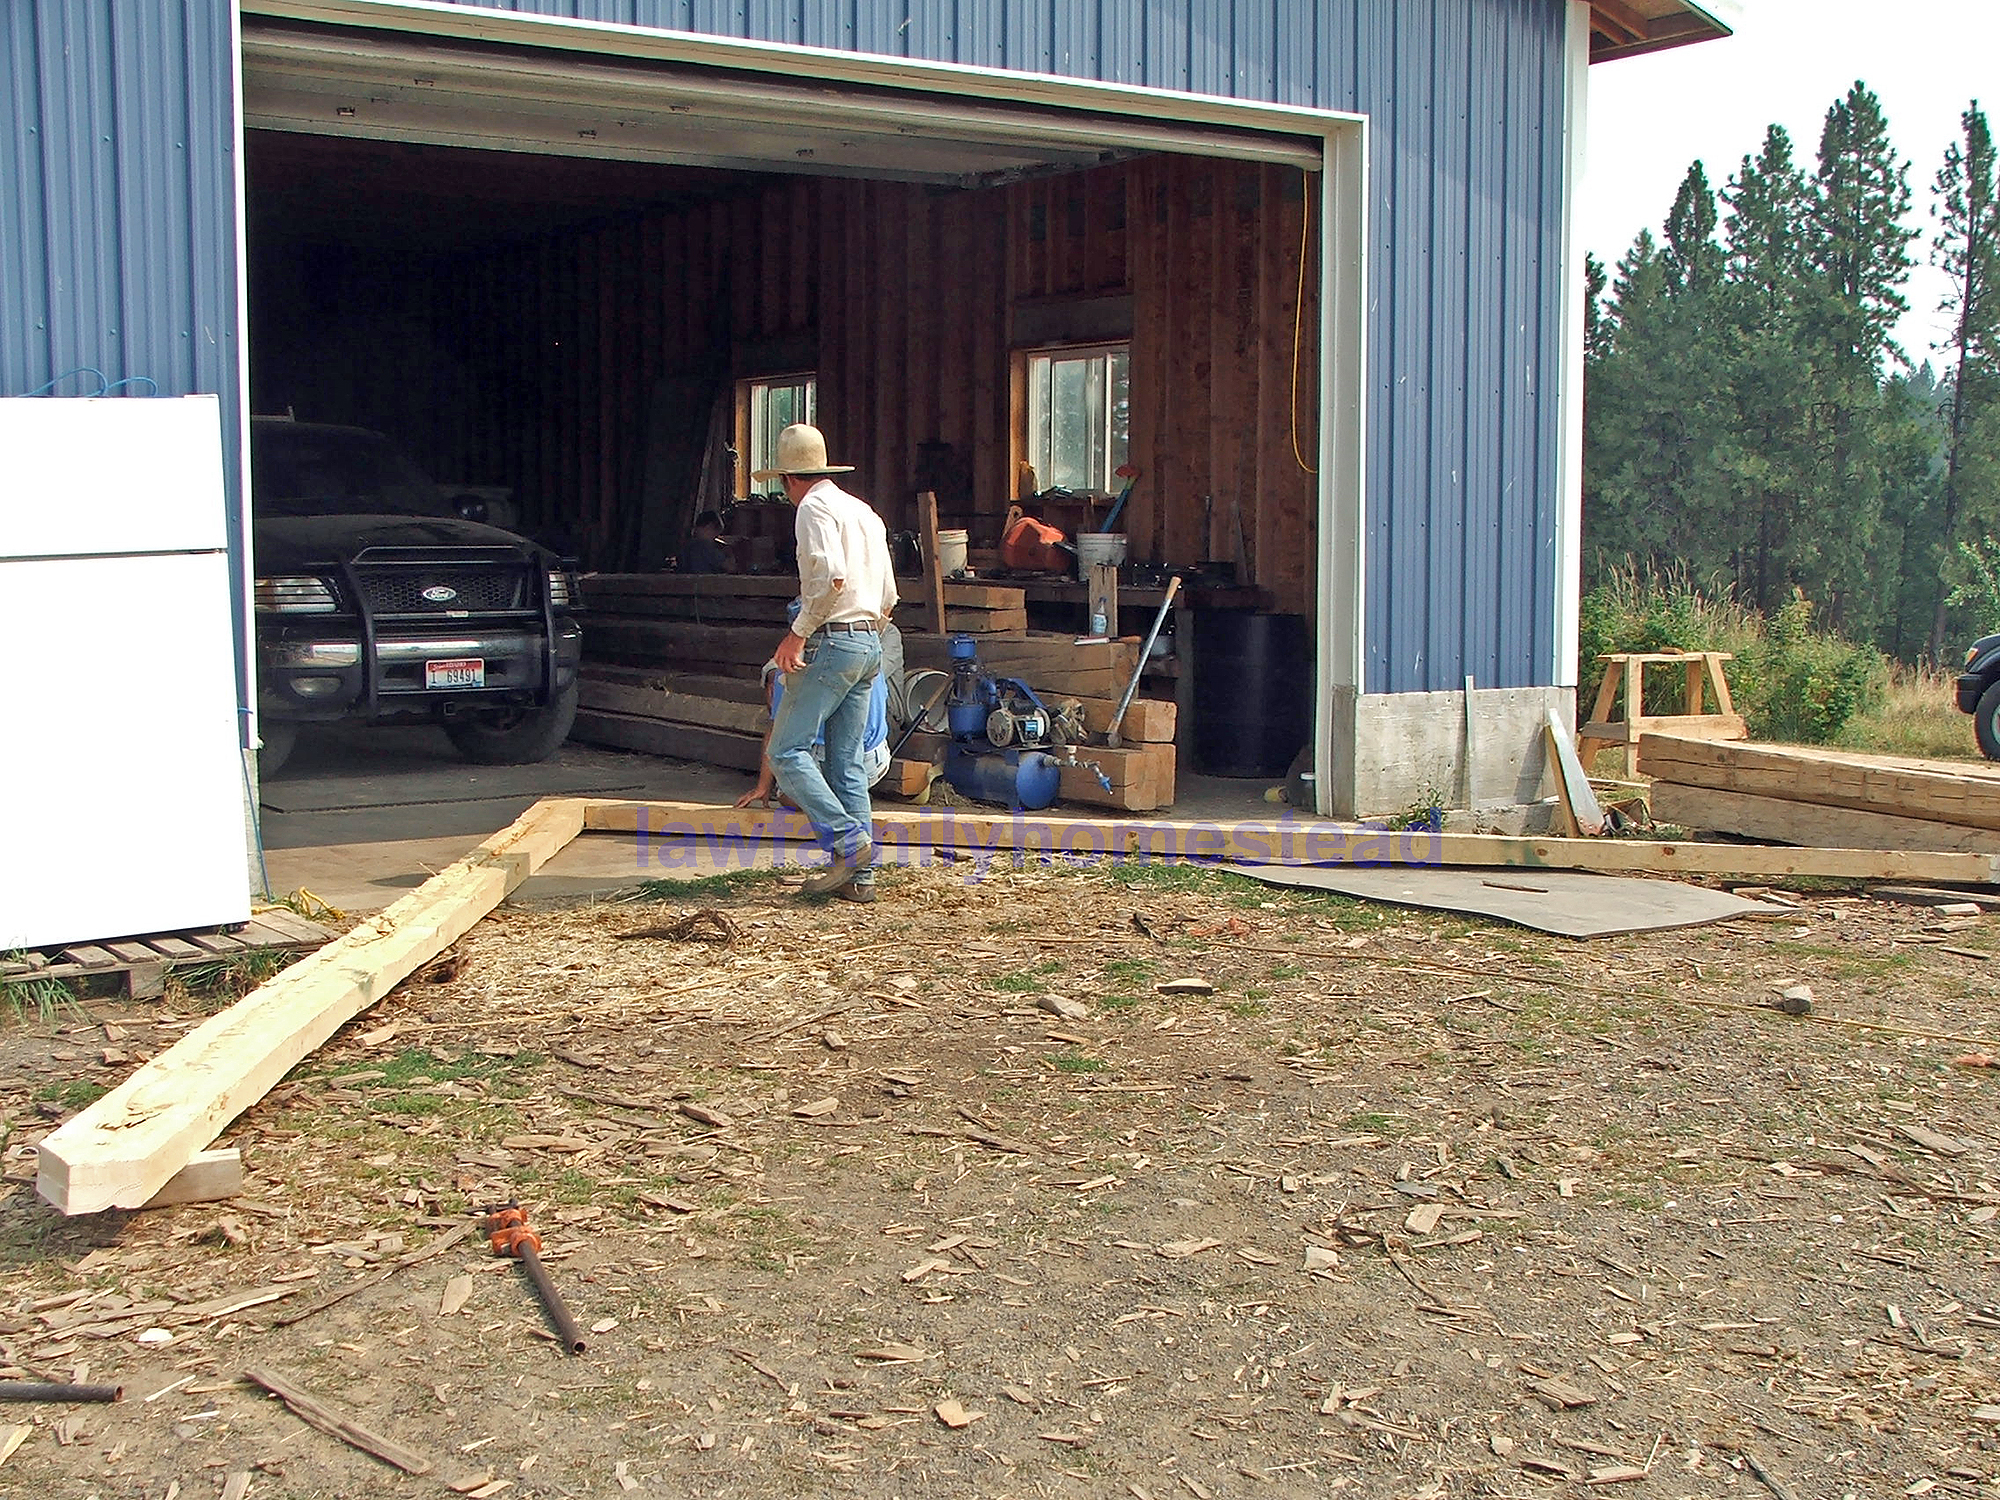
Next, we hauled the rafters from the shop out to the sawhorses where we could work on them. They are 20 feet long, 4 inches thick and 9 inches wide. If you remember back a few weeks we talked about the mortise and tenon joints. We are using them in our rafters as well.

The half a rafter on the left has the mortise and the one on the right has the tenon Mark is cutting out with a handsaw.

The guys developed a couple different ways of cutting the joints. The preferred method was standing atop the sawhorses and straddling the rafter.

A nice straight cut is a must, there was no wiggle room for error. We had extra of all the other logs in case we needed to replace one. We only hewed 16 rafters so we didn't have extra if one broke.

Once the tenon is cut, some planing work achieves a nice, flat, smooth surface.

Chisel time for the mortise end, and then the moment of truth - will they actually fit together?

They do! Amazing, all those mathematical equations actually worked!

See the diamond it makes? That's what comes from doing a 15/12 pitch on the roof. Really kind of cool looking. Comes from England where they did even up to a 24/12 due to the fact they thatched their roofs and the steeper pitched roofs shed water better. The colonists, of course, brought those building techniques with them to the New World, but then slowly lowered the pitch as they began using more shingles then thatch as America had plenty of trees.
Here it is all laid out. With this roof design we needed some collar ties. So we had the neighbor’s cut some with their sawmill when they cut the lumber for our second story floor.

Kit couldn't stand the thought of having lumber on the barn with no ax marks, so he went down and did some quick adz work on all the collar ties.

Made them look pretty authentic!

We gathered the rafters into their proper groups according to their roman numerals and hoisted them to the second story where we will assemble them before lifting them into place.
Hanging the Rafters Next! :)