Back to the "TREE" For a Moment!
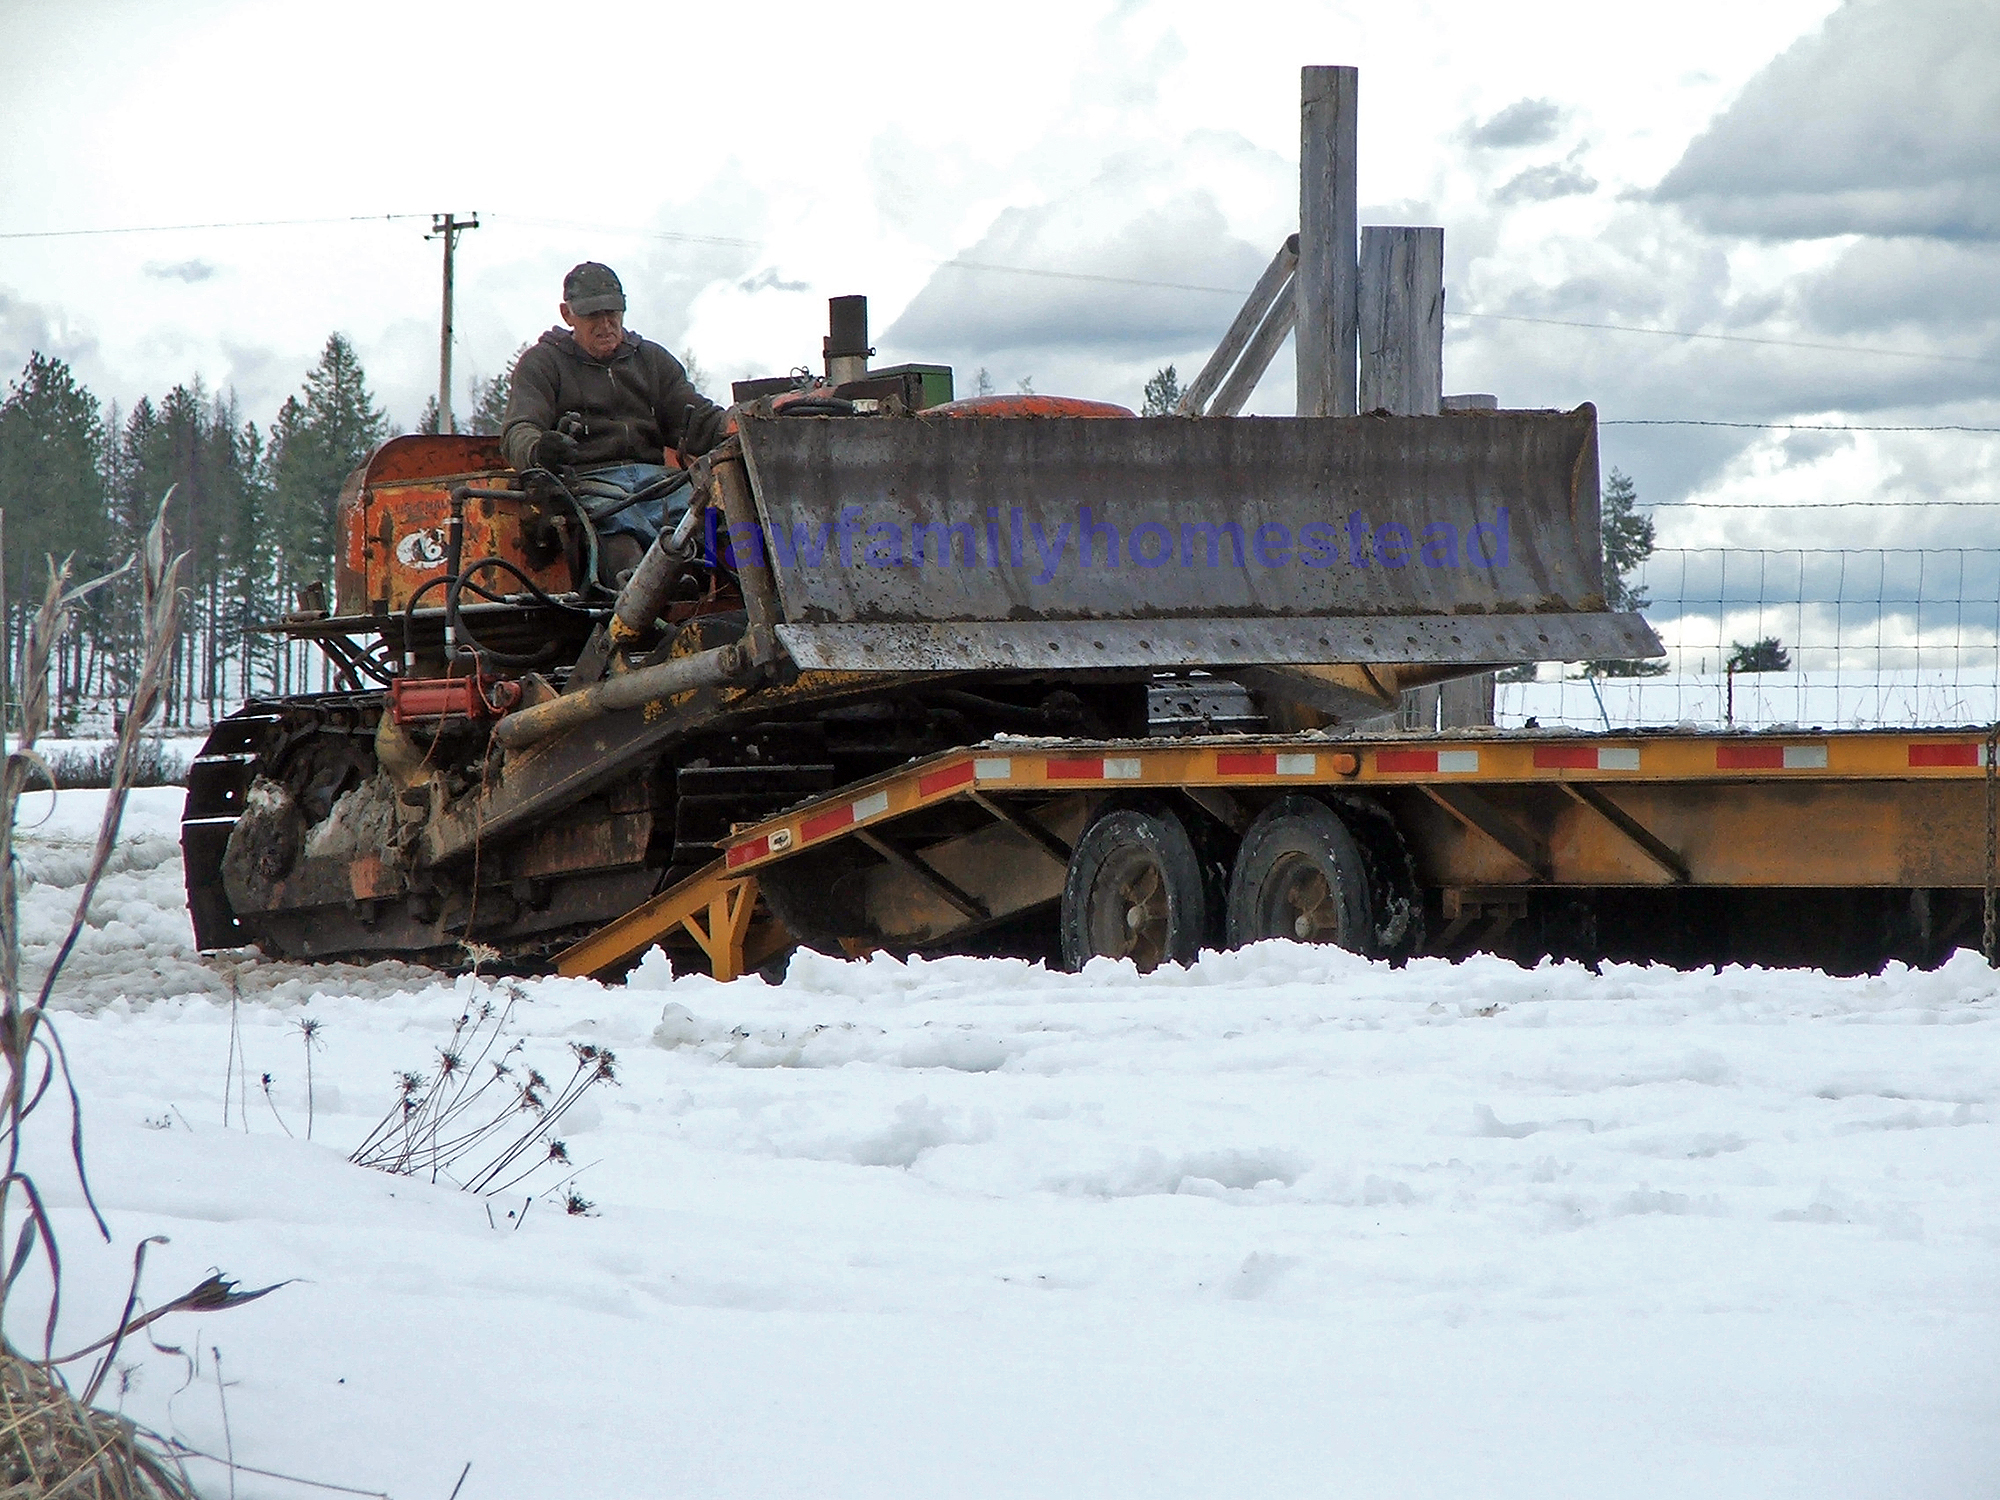
After falling our special tree that was to become part of the sill plate on our hand-hewn log dairy barn, we still had to get the huge log up to our hewing area. That way we could make the round tree into a square beam to support the rest of our logs.
The nice weather we had in Feburary for falling our tree suddenly turned into winter again in March and we had a difficult time getting our tree out of the creek bottom and up the hill.

Our old Dodge truck, affectionately known as the "Beast," was called into action. With all four tires chained, in freshly fallen snow, we succeeded in moving it all of maybe 20 feet. And then no amount of pleading, threatening or crying was going to move it further. We even had a good friend come over with his truck and winch to add to ours and still couldn't get it to move.
So we called in our good neighbor, and asked him to come check the situation over. It was thought his big Farmall tractor could get the job done.

He brought the tractor over, we helped him chain it up, and he drove it down the hill to our tree.

The tractor moved it another 30 feet or so, and then hit a soft spot in the mud under the snow. The rear tires lost traction and just spun!

We decided to chain the Beast to the tractor and see if it would give it enough extra umph to get up the hill. Nope, no go.
We had about decided we should just leave the tree there. We could hew it and then drag it up the hill once it was smaller. But our neighbor had one more idea.
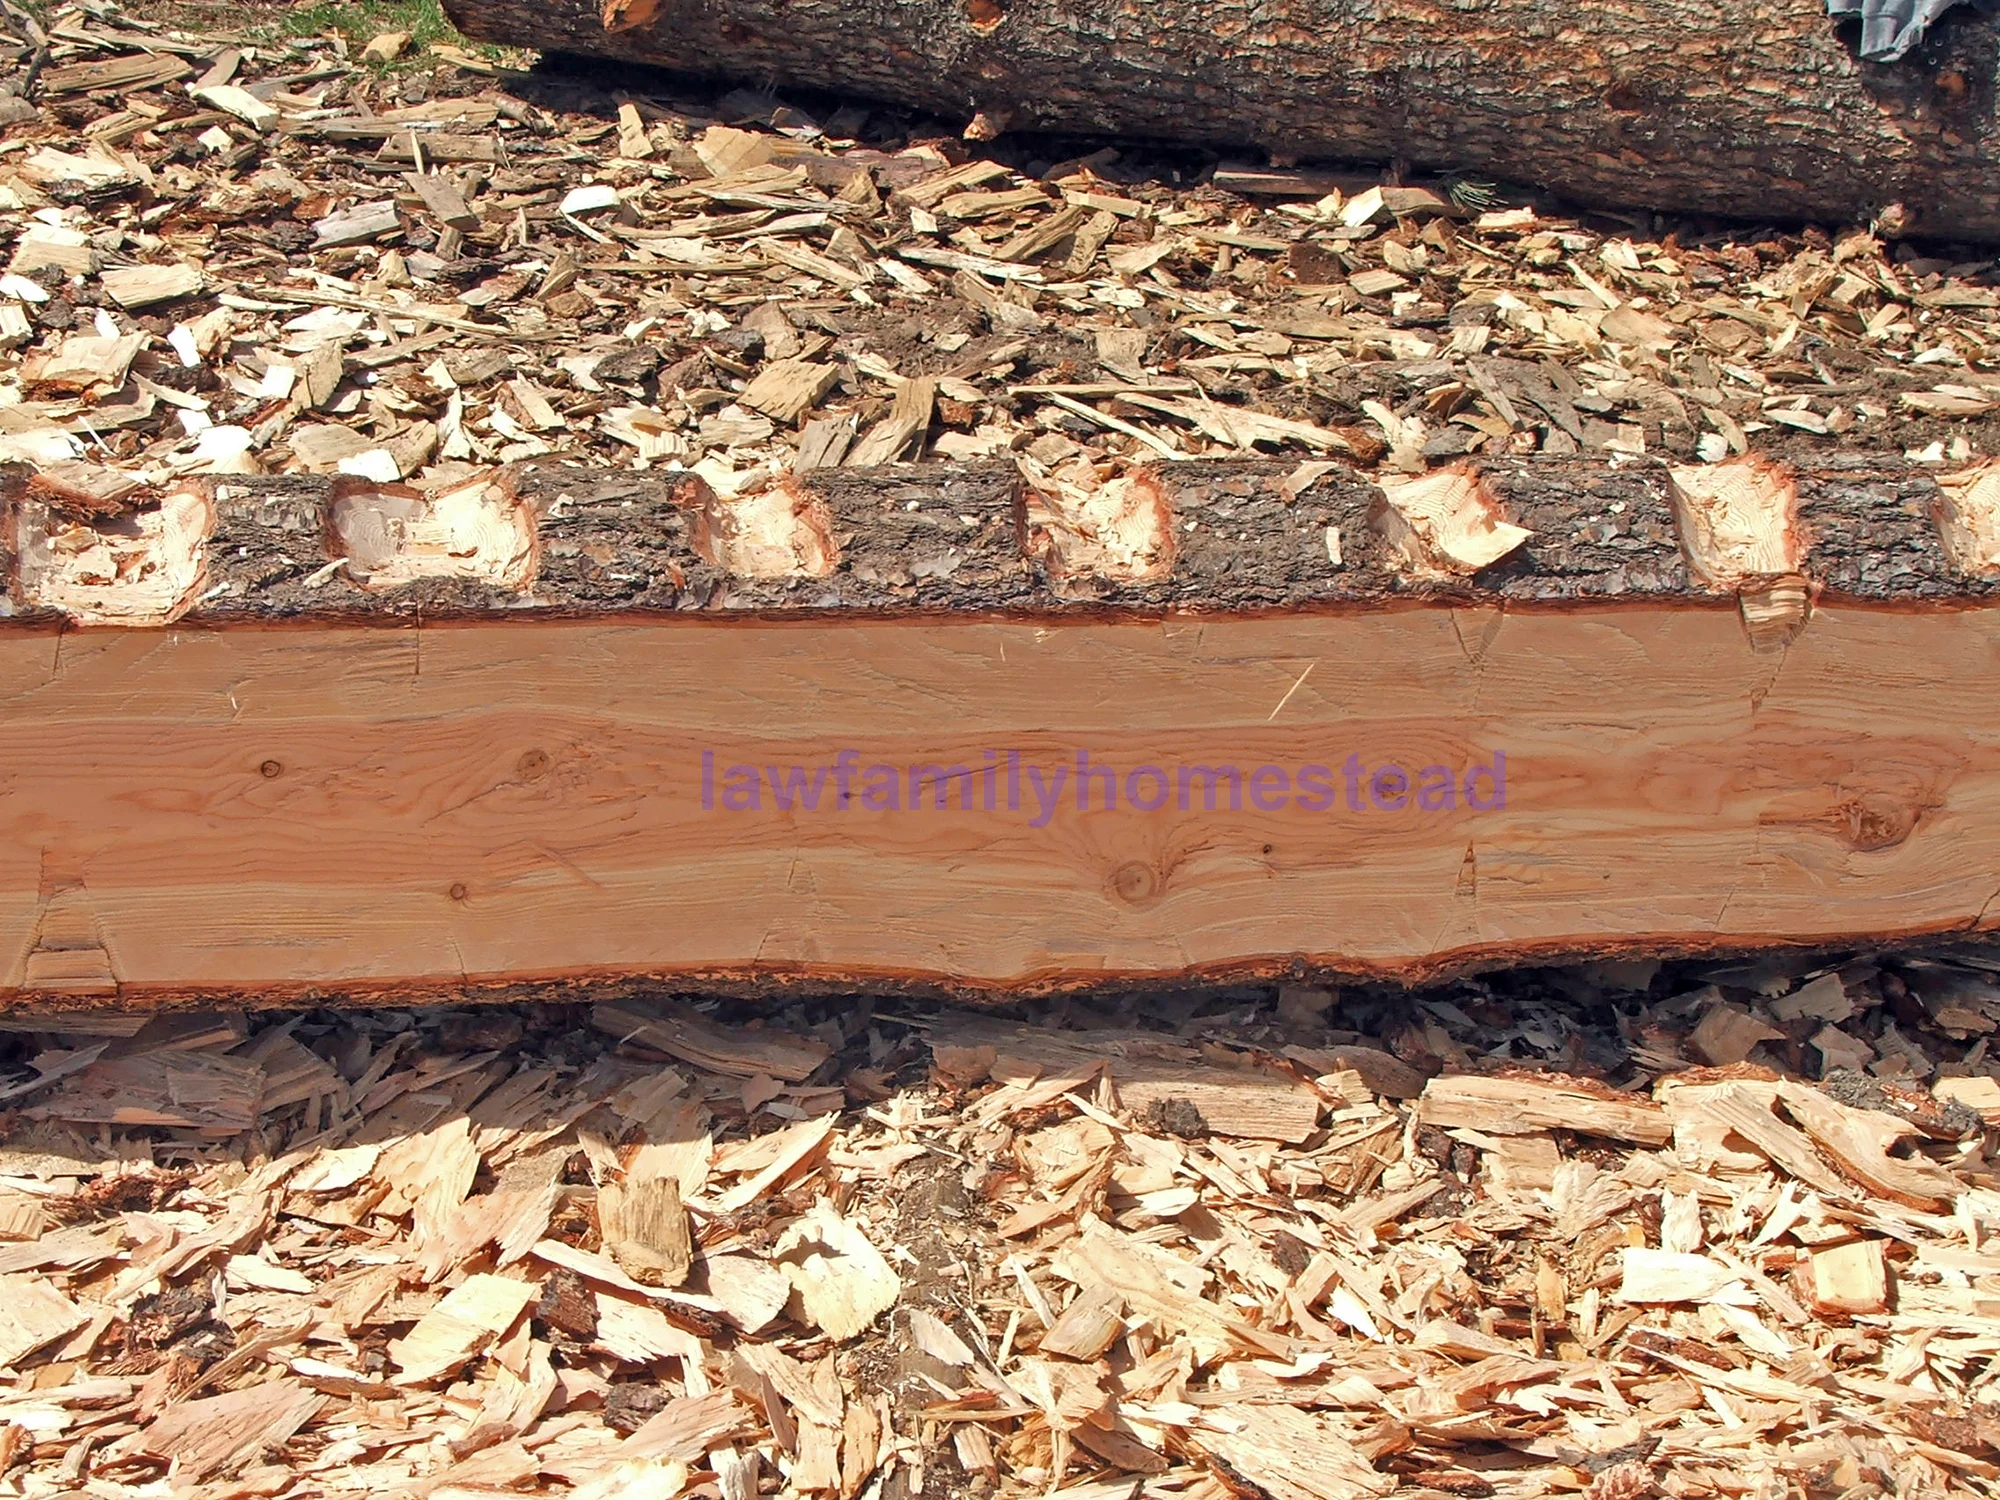
He brought in the heavy equipment. A small caterpillar.

There is always a right tool to get the job done, sometimes one just has to find it. Even so the Cat still had some difficulty getting started up the hill.

Since the tree was so heavy, he even put it up on our log supports so we wouldn't have to move it later when we started the hewing process.
By the end of March spring had won the battle over winter and we started hewing our tree.

First, Kit squared up the butt end.

It was measured yet again, (measure twice, three times,) cut ONCE. JW2 thought the big tree pretty impressive. This is the largest beam to date we have hewn by hand.

The small end squared and measured at 20 inches.

Then it is HEAVED into place for the actual hewing steps.
First, the "juggles" or notches are cut into one side of the tree. This is done on all four sides of the square beam.

Then the log is flipped on its side and the "juggles" are roughly cut off. (This photo is actually of one of the rafter beams we did earlier.)

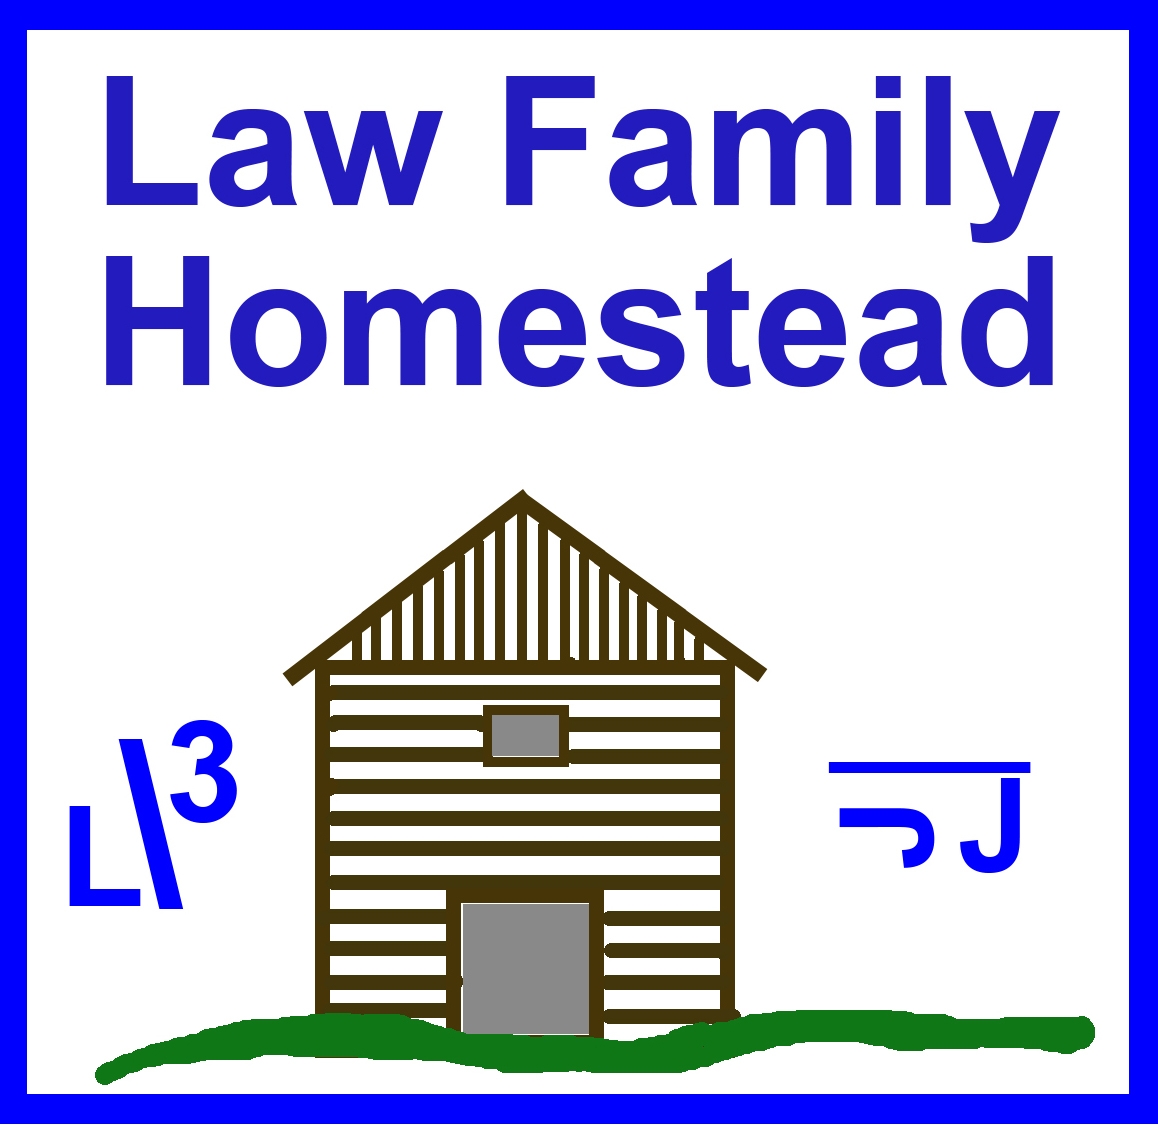
Next, comes the broadaxe work. This tool is used to smooth the rough wood and make a flat, smooth surface. Here, the first few feet of the log has been broadaxed, compared to the rest of the tree that is still rough.

The handle of the broadaxe is bent at an angle to the head so you can get a straight cut down without scraping the skin off your knuckles. When done correctly you can get paper thin sheets to come off.

Side one complete, side two juggles chopped out ready to start hewing side two.

Side two finished and you can see the beam emerging out of a round log.

Side three, and on to side four.
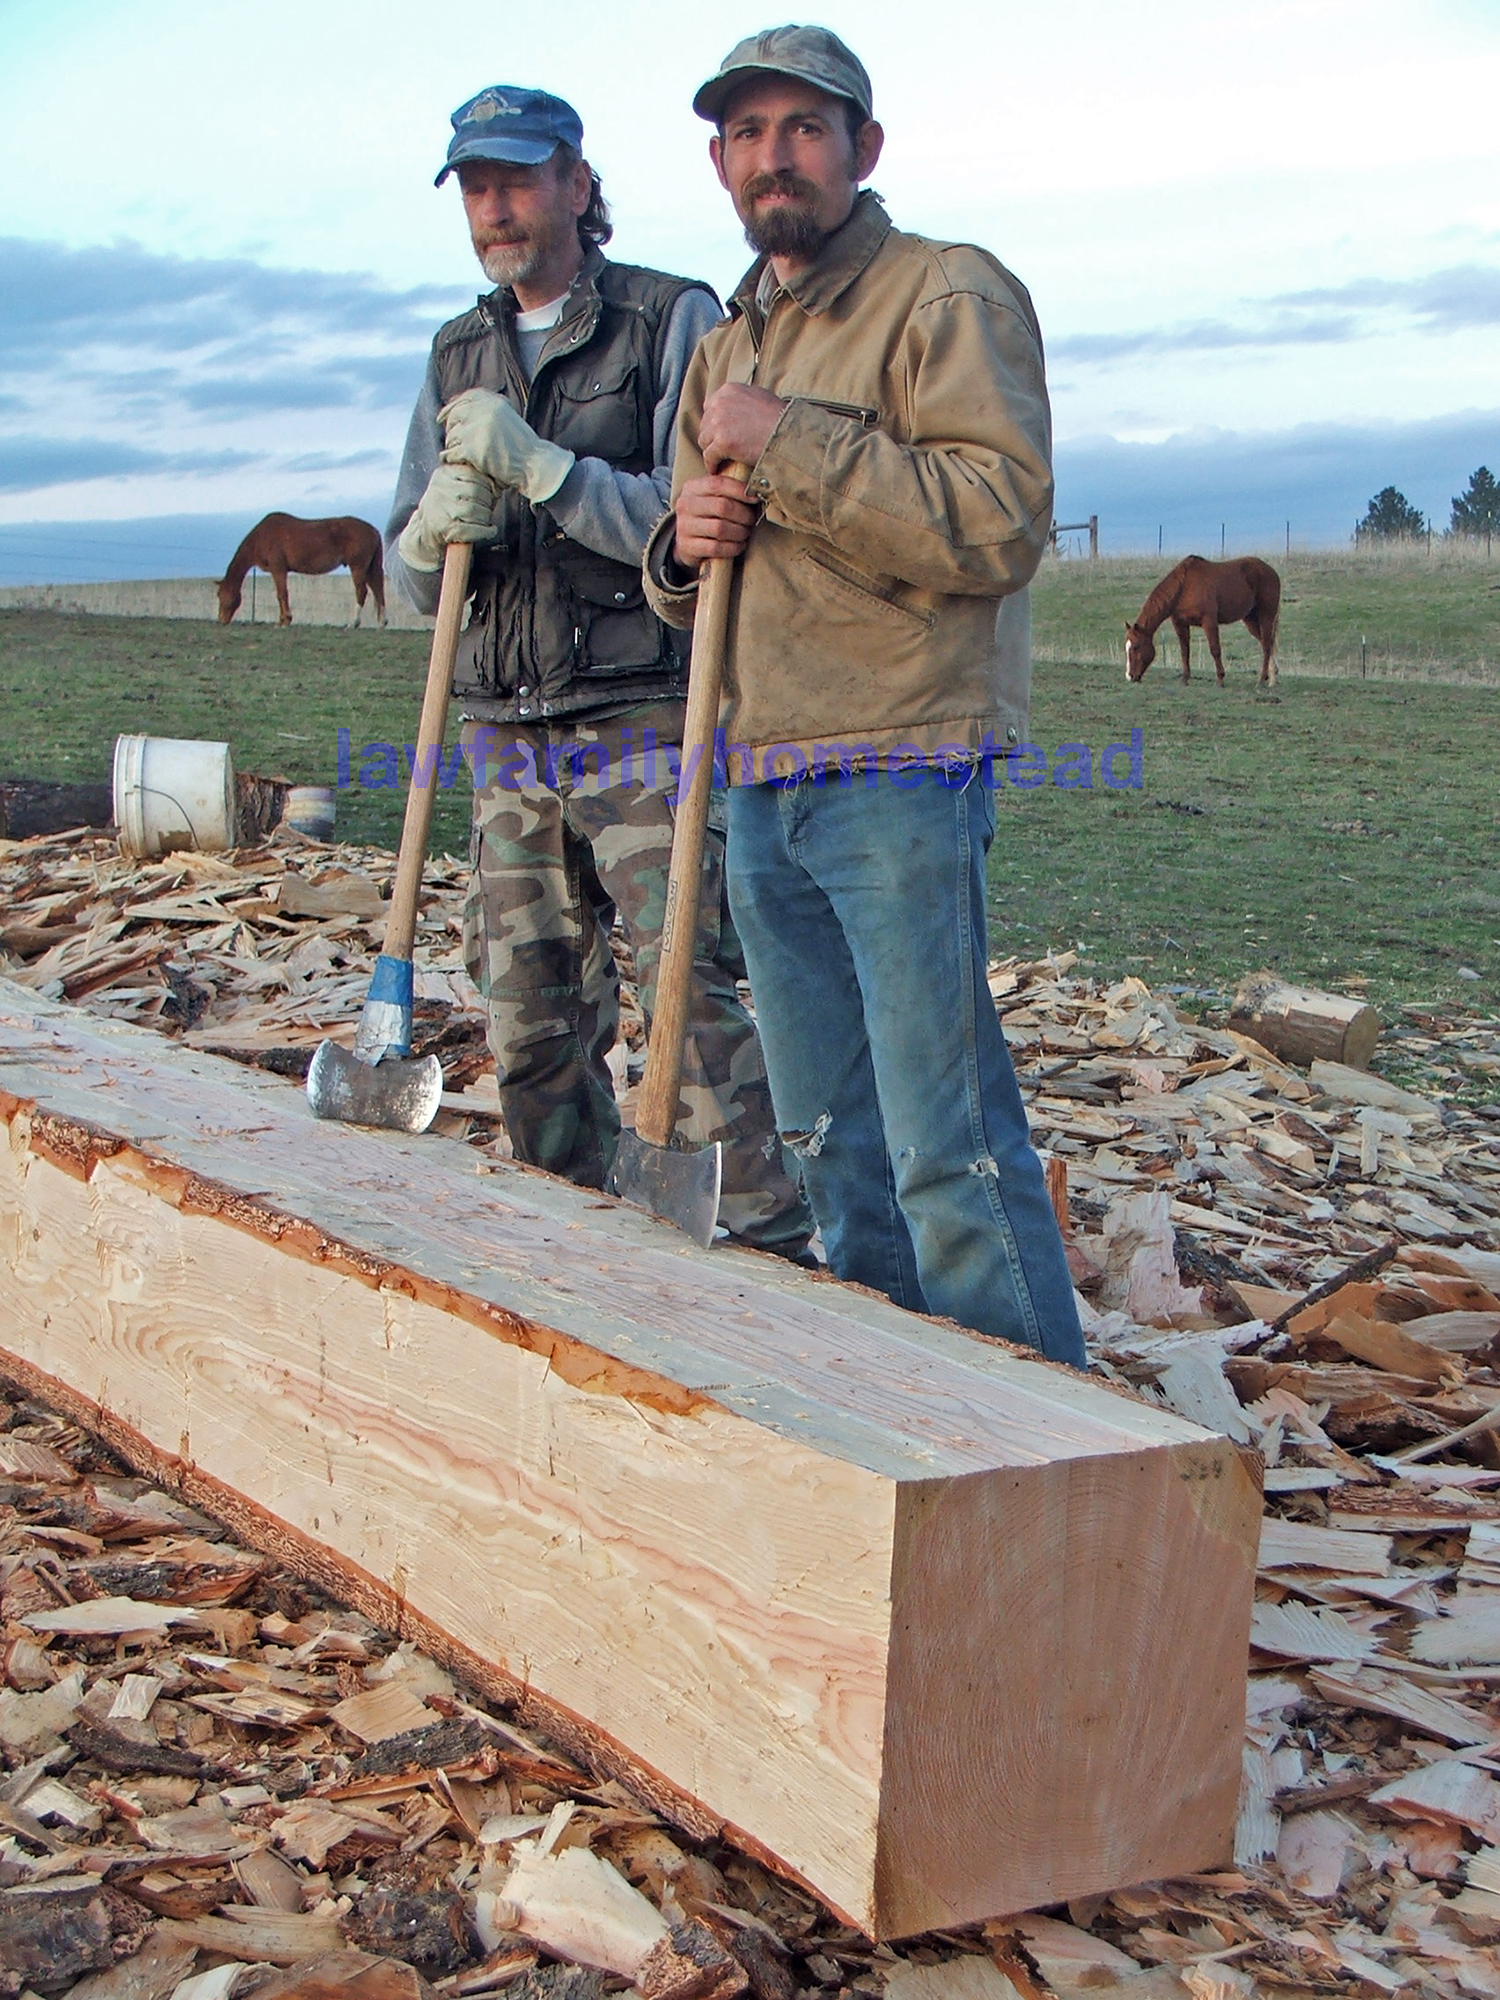
And it is squared, an awesome looking beam!
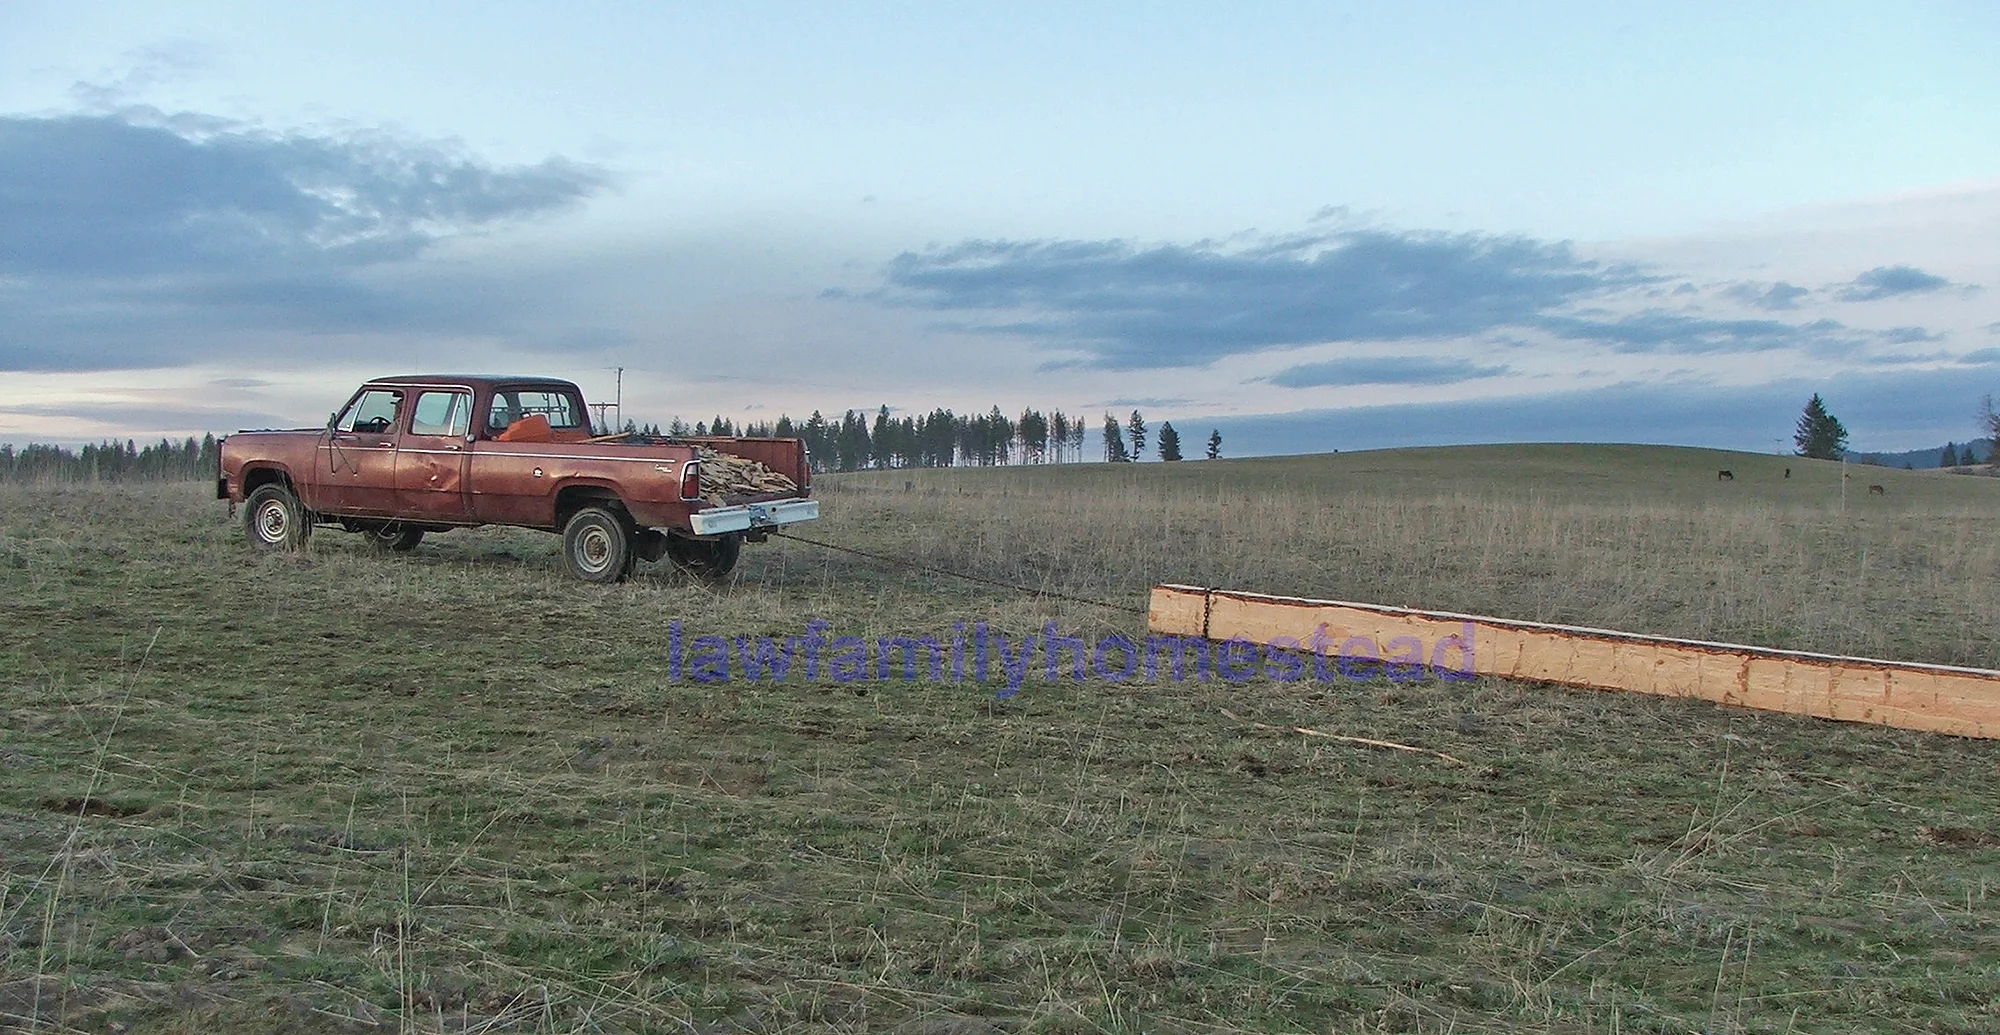
And while the ground was still dry we quickly towed it out of the hewing area and up to the barn area so we could split it there, and not chance getting it muddy later.

Wedges, mauls, axes, pry-bars, etc., are all called into play for splitting the beam into two smaller beams.

The beam is split, as far down the center as they can. Then they flip it over and split the other side as far down as possible. And then axes and wedges are used to pry the last remaining slivers apart.

Almost there!

At last!

All cleaned up and waiting for assembly. 16 inches tall, 7 inches wide, and 24 feet long! Stay tuned for part two of the sill plate - installation!!!