
Rafters and Purlins
We are back in the rafter business on the Law Family Homestead. Mark found some manila-hemp rope, 150 feet of it, so now we can put up the last three rafters.
Unfortunately, due to a couple of little boys' curiosity, we lost the pictures I took of how we got the last three rafters up. I talked to the other two people who also had cameras and neither of them had the pictures I'm missing either.

A temporary platform was constructed on top of a 12-foot ladder, that extended beyond the barn. We laid the rafters on this platform, assembled and then lifted them into position the same way we did the previous ones.
You can see part of the walk board, coming off the north end of the barn here that went to the platform. (Sorry Uncle Peter, I can't remember what you called it.)
And just for fun Kit placed the “wetting bush” at the highest point following this old tradition: “One of the more well-known traditions involves nailing a bough or small evergreen tree to the highest point of the timber frame. According to Fine Homebuilding Magazine,
The ritual serves two purposes. One pays homage to all the trees that went into the construction of the house, and to the many hands that built it. The other symbolizes the establishment of the house’s roots, which will nourish a long and prosperous life. The young tree is called a “wetting bush”, likely derived from the German tradition of watering it as a sign of the home’s first nourishment.”

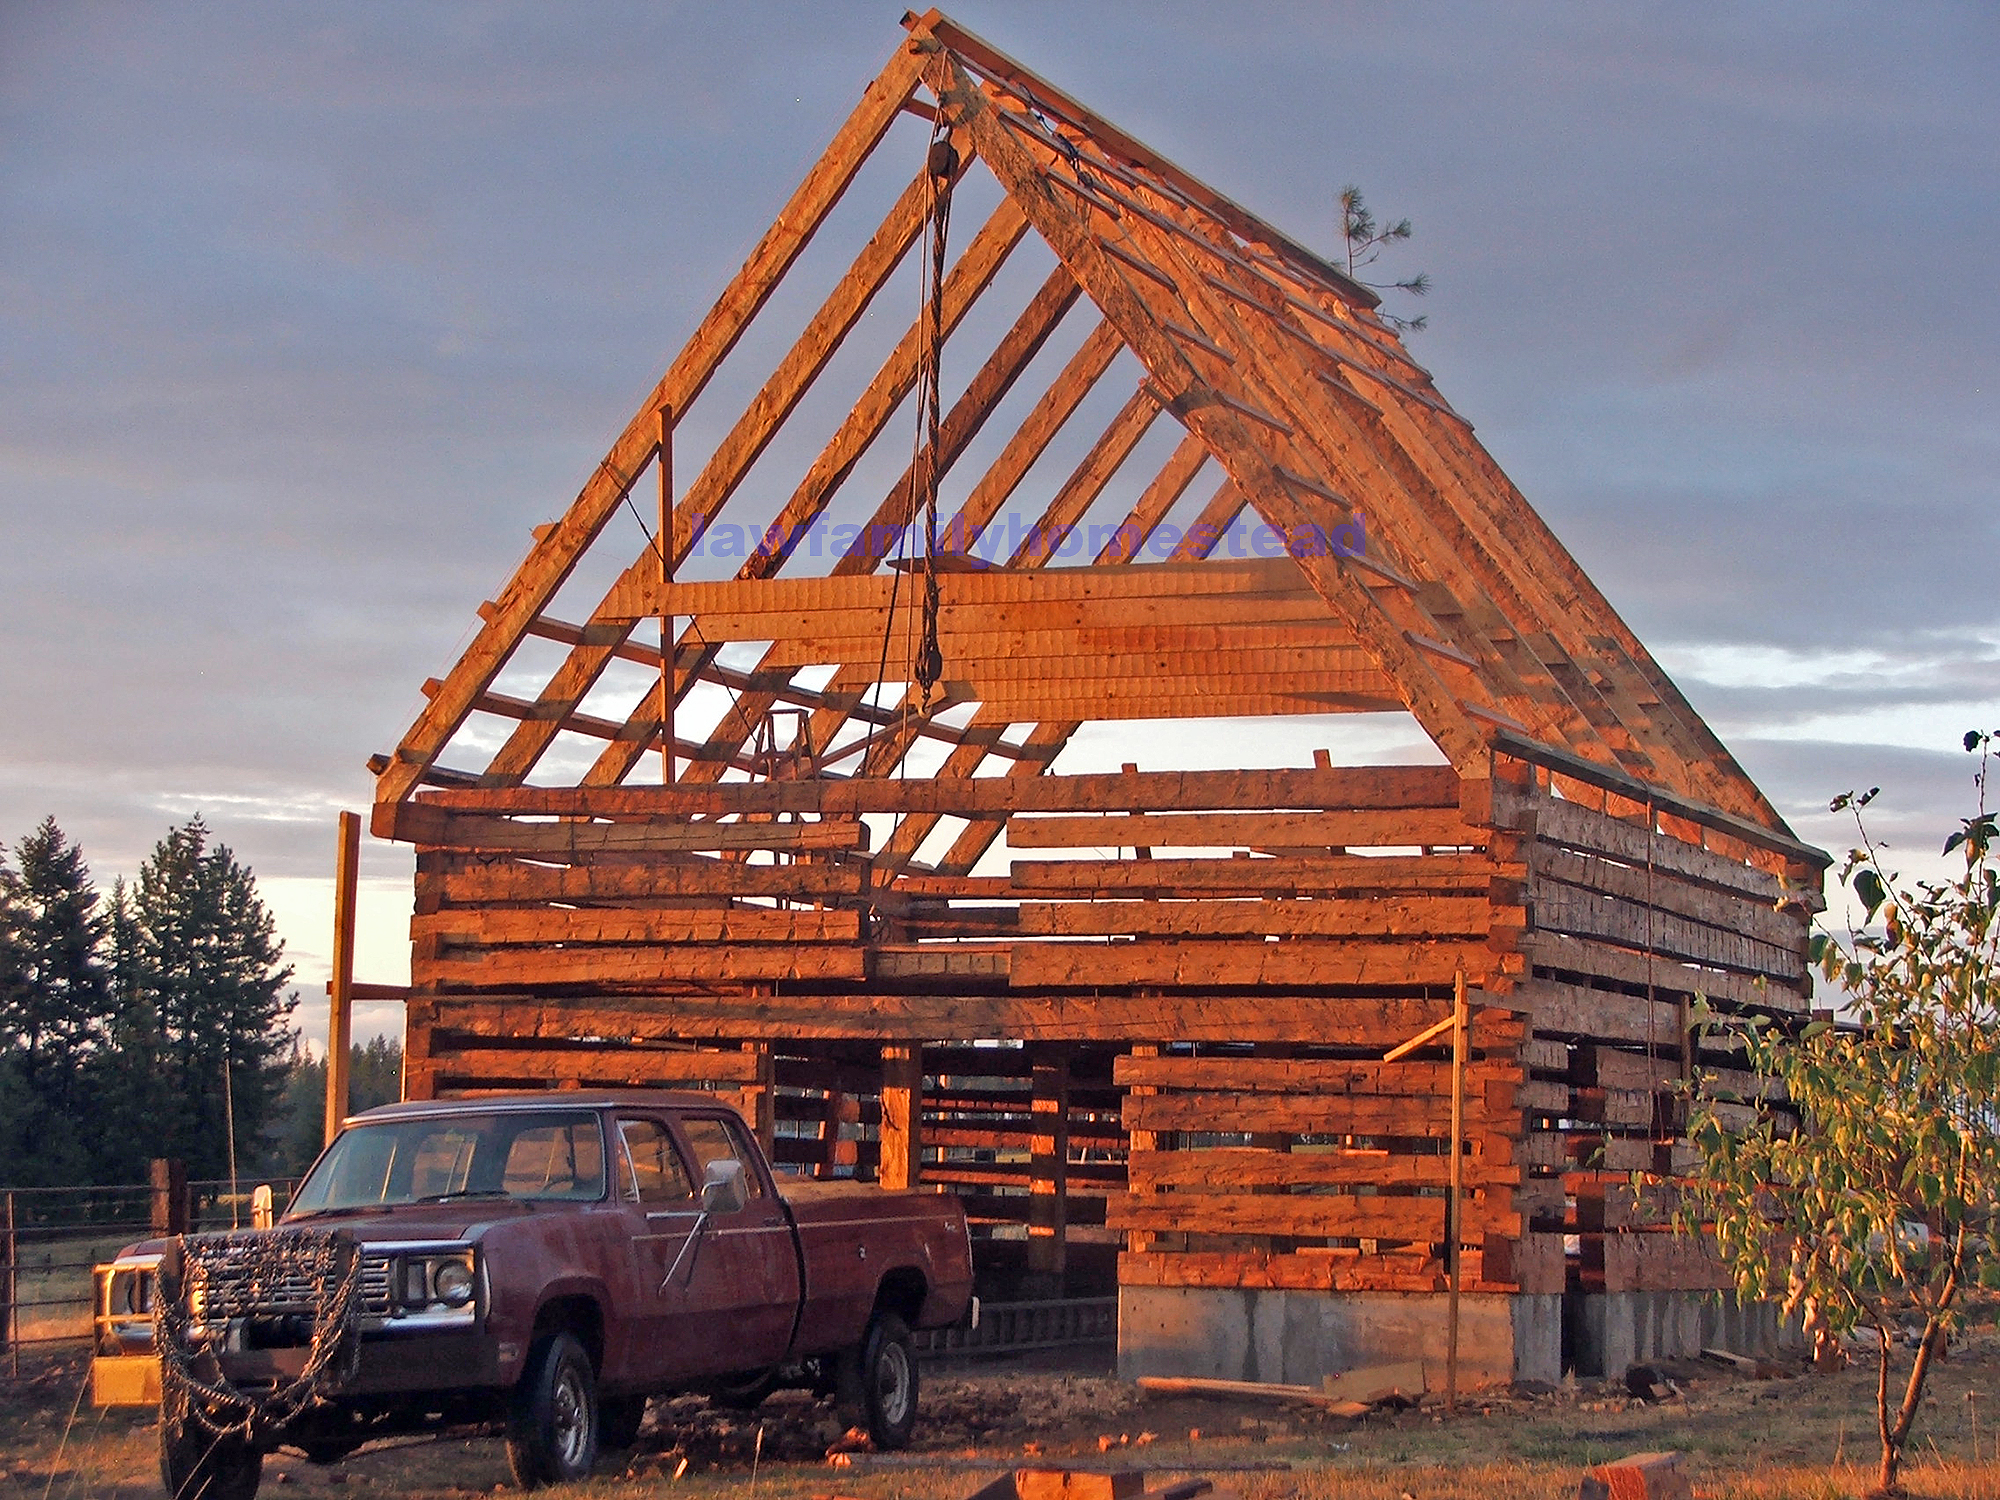
Another view of the awesomeness! We also lost the photos of making our own pins to bolt the rafters to the log wall. The guys cut 18-inch pieces of ½-inch rebar, and sanded both ends so the ridges were smoothed off. They then used a tap and die set to thread the top and bottom ends so a nut could be threaded on.
Once the rafters were up and secured the guys started on the purlins.

Here is the truck load of hand-hewn purlins. We were short of time this spring so were unable to finish all the hewn purlins. Kirk graciously milled the last 4x4 roof purlins for us in 16-foot lengths which helped tie our rafters together over a longer span.

Here Mark and Uncle Peter are putting up the first row of purlins.
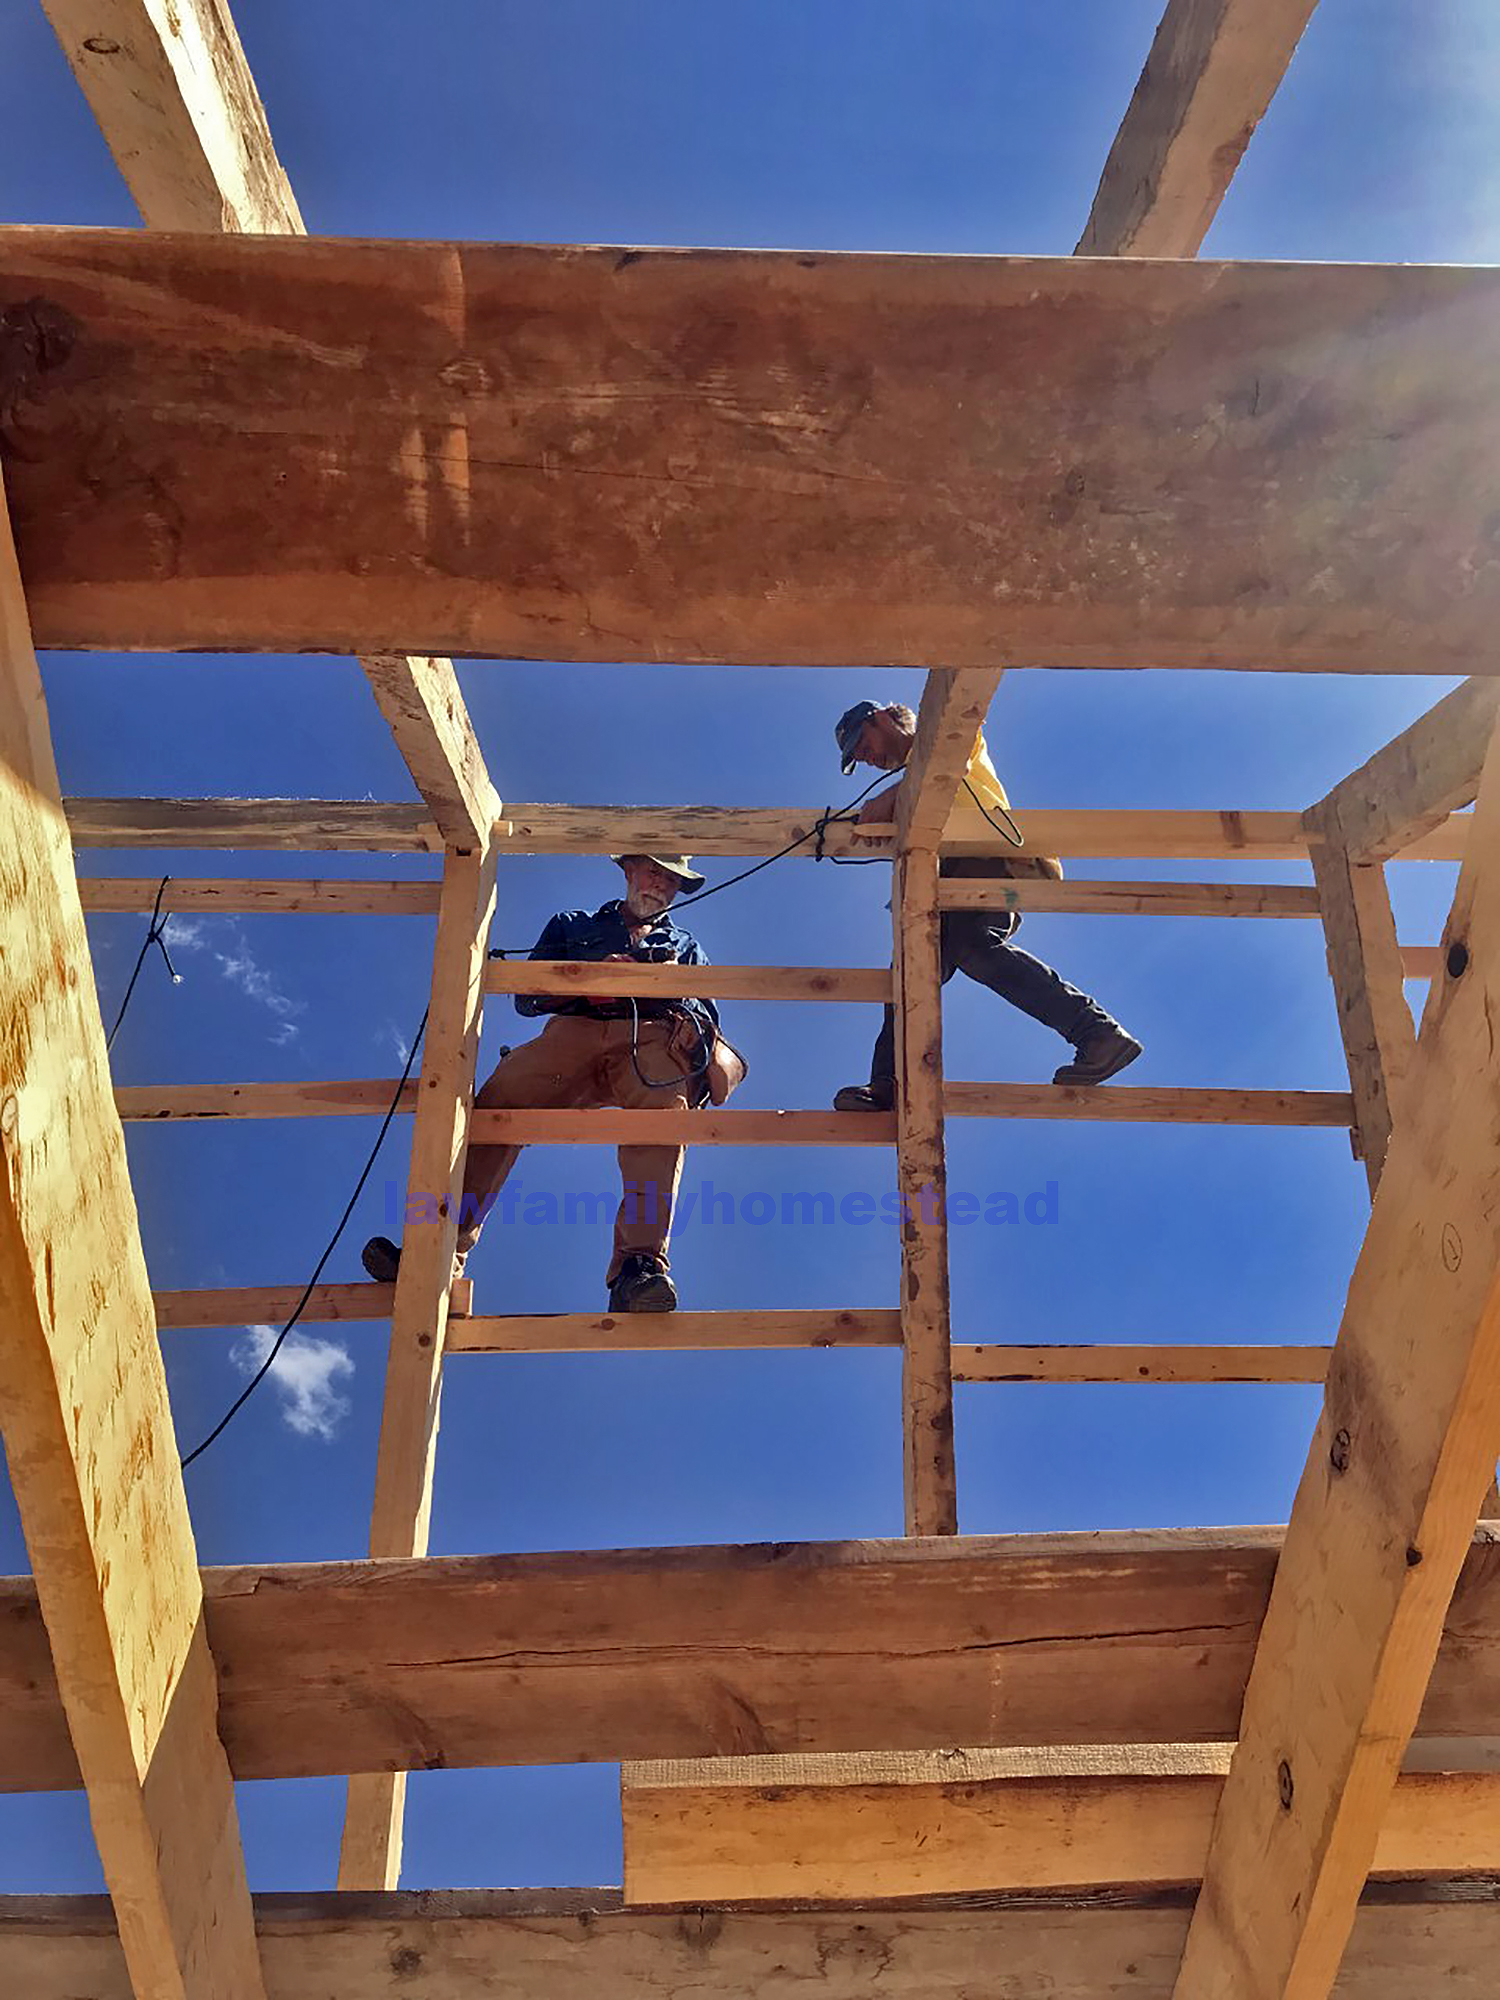
It's a long ways up there, or a long ways down, which-ever way you want to look at it. The wood hayloft floor is finished though so if there were a slip you wouldn't go clear to the concrete floor at the bottom!

Uncle Peter put up three rows of purlins by himself before a weather enforced break caused a two-day delay.
But all was not lost as we made a trip to town and purchased material for putting in a "temporary" ELECTRIC line for power and lighting in the barn!!!

Uncle Peter worked on this while the weather tried to make up its mind whether it was going to rain some more or be nice.
If you look closely at this picture you can see the adz marks on the collar ties.

The next day the sun came out and the guys were hard at it.

The purlins are spaced every 24 inches on center. So they stood on one, braced their knees on the next one and then leaned down to pull up the next purlin. After attaching a few of those, knee pads were brought into play.

Amazing what one can accomplish when the weather cooperates! Side one was completed by dark which was amazing as nearly every purlin needed special fitting due to a substantial crown or twist in many of the hewn rafters. This, at times, necessitated the use of a come-a-long to straighten, or as Uncle Peter phrased it "discipline," the unruly rafters. Large torex log screws were used to secure the purlins to the rafters.

Side two complete. If you look close you will see cedar 2x4s screwed to the end of the hewn rafters protruding out past the wall. This was a clever invention of Uncle Peter's. He has rebuilt a lot of old buildings with rotten fascia boards and rafter tails. By adding replaceable rafter tails on the end of the rafters, only the tails need to be replaced over time as the building ages and the ends begin to decay. Earlier colonial architecture did not extend the rafters beyond the wall, which left the walls further exposed to the weather.
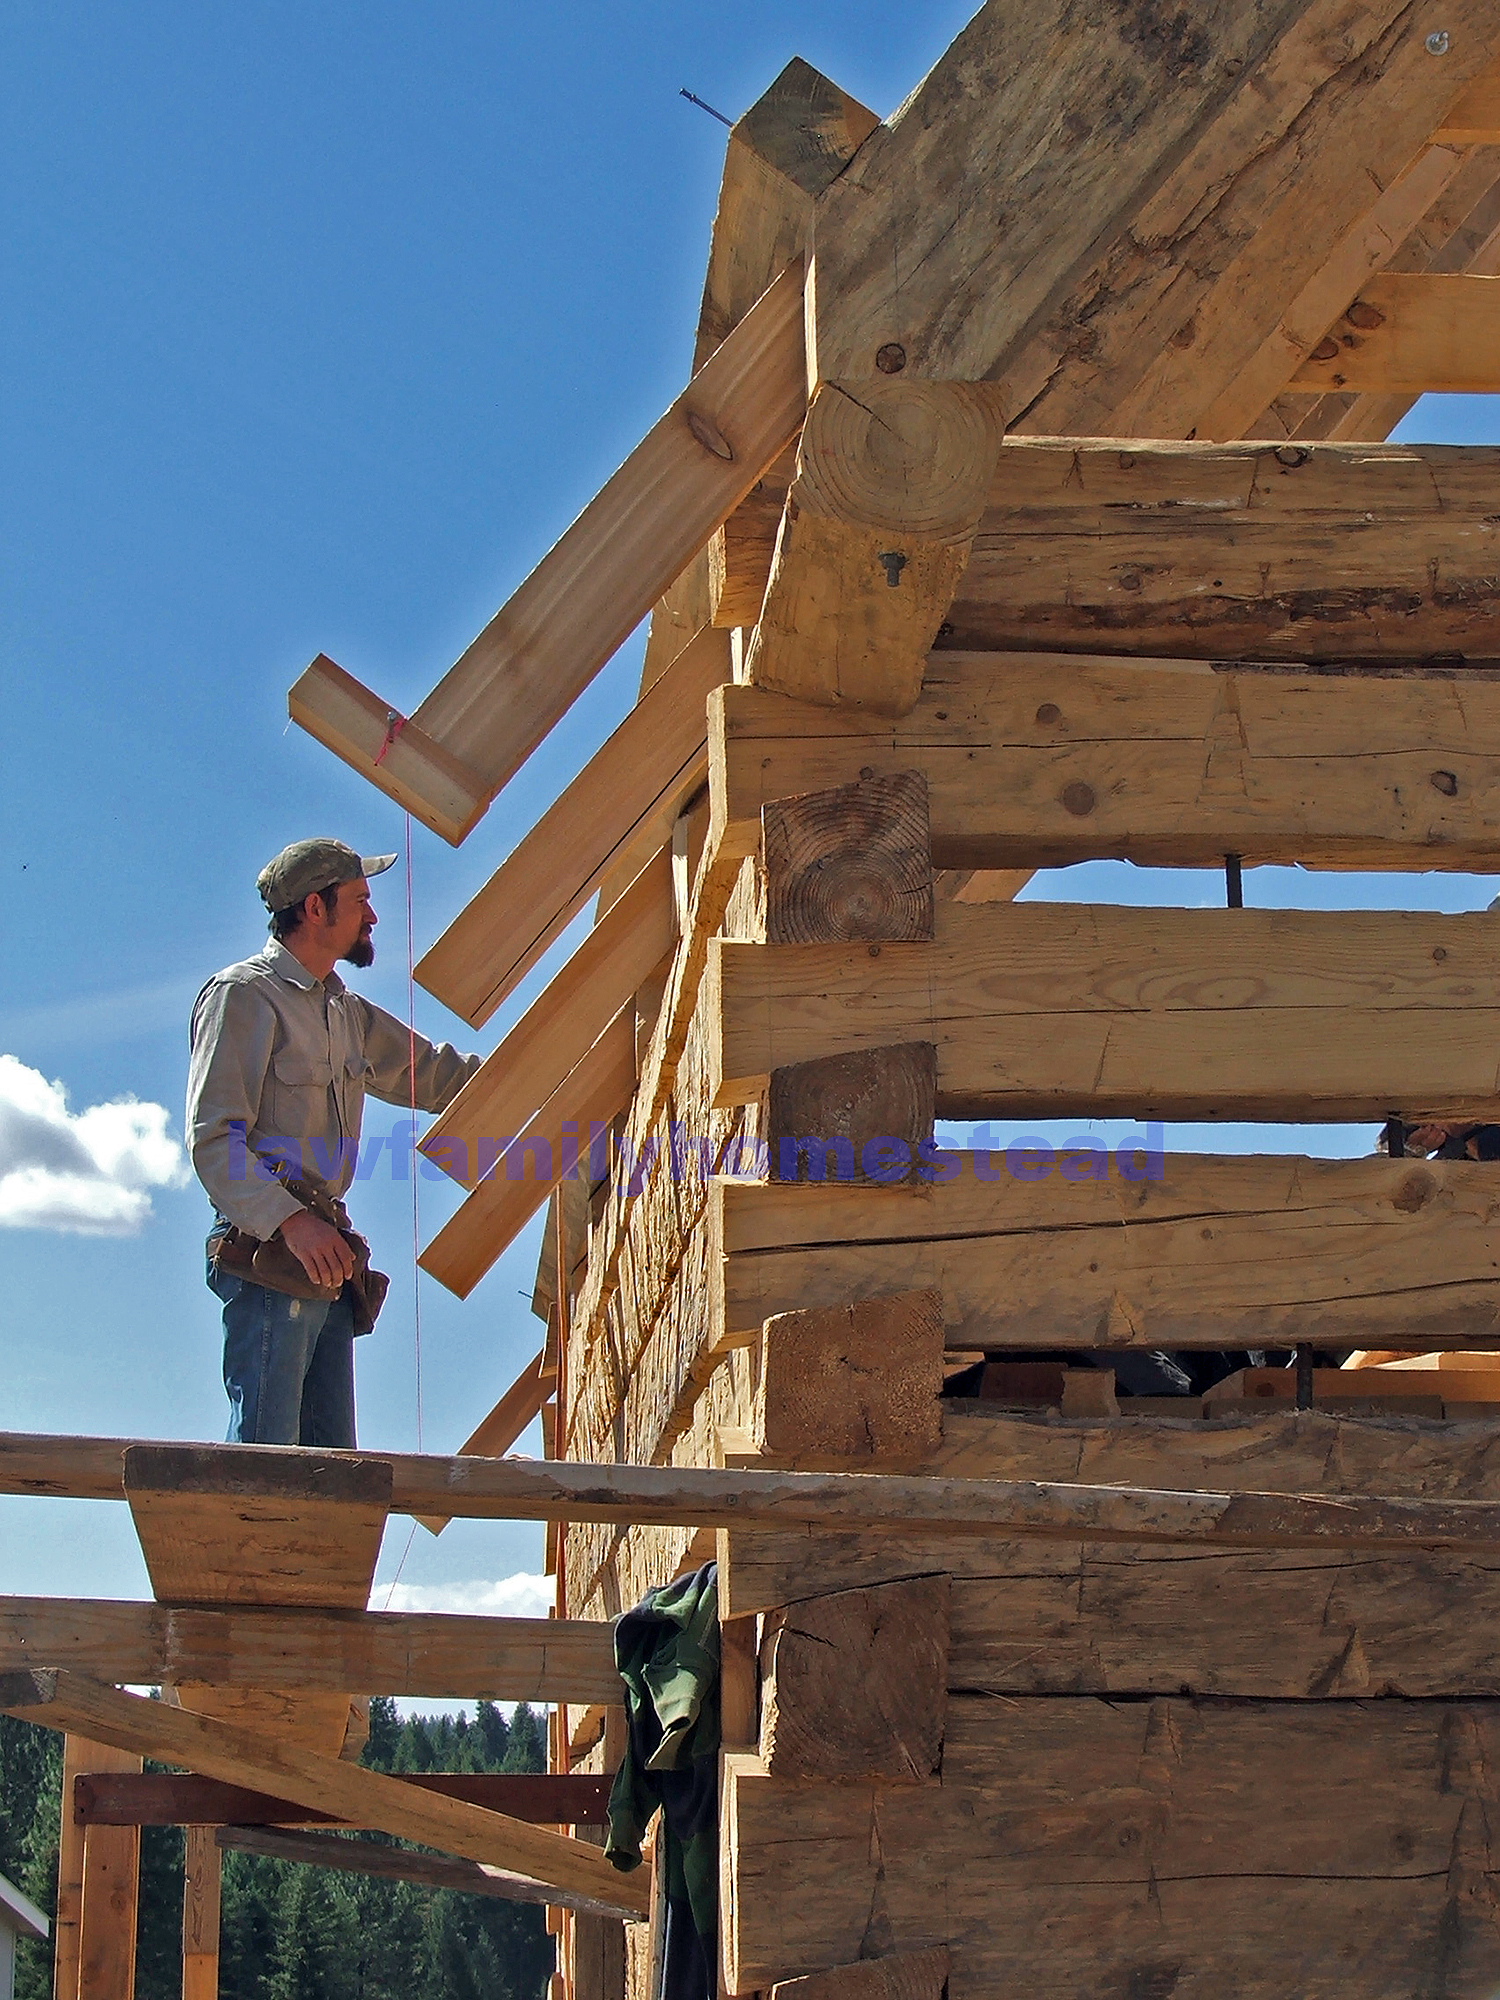
Here you can see how the rafters can be extended out beyond the walls to make the eaves replaceable.

Here you see the cedar tails and fascia board completed.
Next, they worked on the gable ends, as we were still waiting for the tin roofing to show up.